Time Machine - Chronomix Interface
This page describes how I connected the Time Machine to the Chronomix display clock and well as the various cables that may be used.
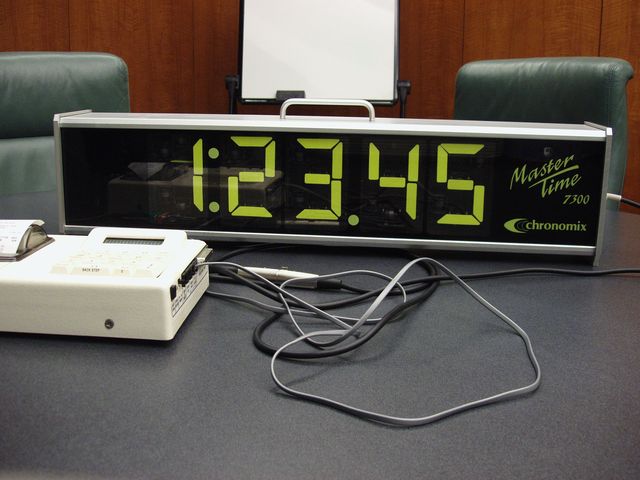
Synchronize a Chronomix Display to the Time Machine


- Connect a standard telephone cord to the EXT CLOCK port of the Time Machine.
- Connect the other end to the telephone cord to the adapter (see below for wiring instructions)
- Connect the adapter to the FinishLynx to Chronomix cable.
- Connect the cable to the DATA port on the Chronomix display clock.
- Once connected, power on the Chronomix clock and the Time Machine. Start the event. The Chronomix will display the running time from the Time Machine.
Note: the newer Chronomix clocks, including the 7300, had a design flaw that may display the incorrect time. When the Time Machine starts the Chronomix 7300 may display a "4" in the 10's of minutes and another "4" in the 10's of seconds. The incorrect digits continue to display until overwritten by the Time Machine. For example, during a cross country meet, the Chronomix clock may display the incorrect time for the first 11 minutes. The display problem exists while counting up and well as while counting down.
For shorter events, that are less than 11 minutes, you could tape a piece of black paper over the 10's of minutes place. For longer events, you could turn on the Chronomix clock after 11 minutes.
Also, the newer Chronomix clocks, including the 7300, will continue to count up, even after the Time Machine has been disconnected. That's not a bad feature as you can use the Time Machine to start the newer Chronomix clocks, disconnect the cables, and then time the event without worrying about cables accidently pulling out. The older Chronomix clocks will stop if they are disconnected from the Time Machine. Therefore, older Chronomix clocks need to remaing connected.
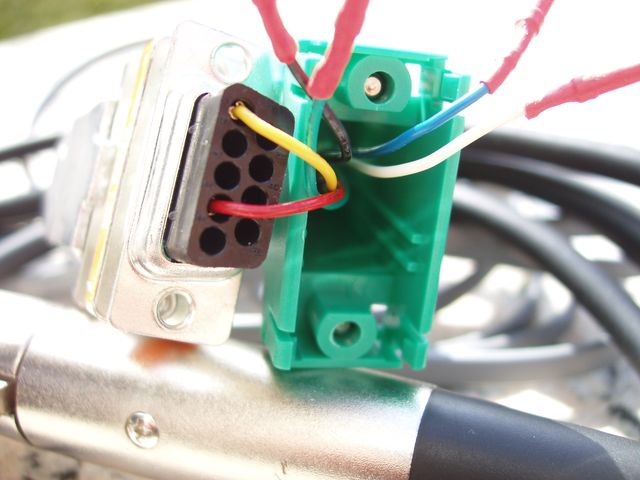
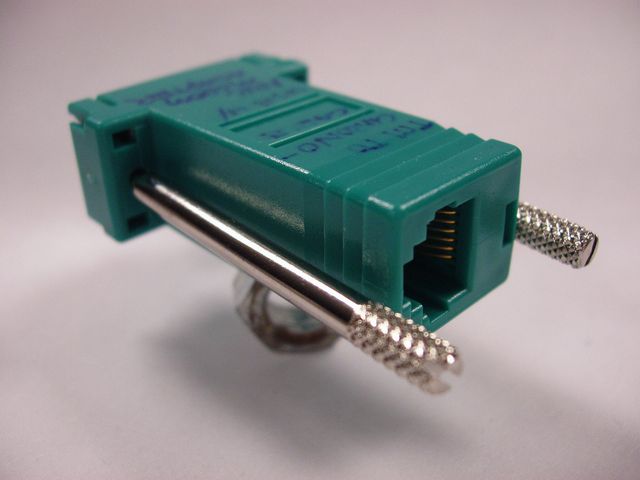
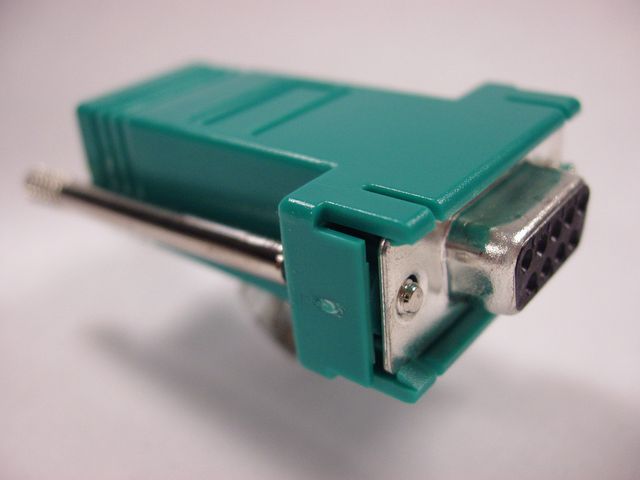
The green adapter has a DB9 (female) connector on one end and to RJ11 or RJ12 (female) connector on the other. Up to 6 wires may be plugged into the DB9 connector.
Building the Time Machine adapter
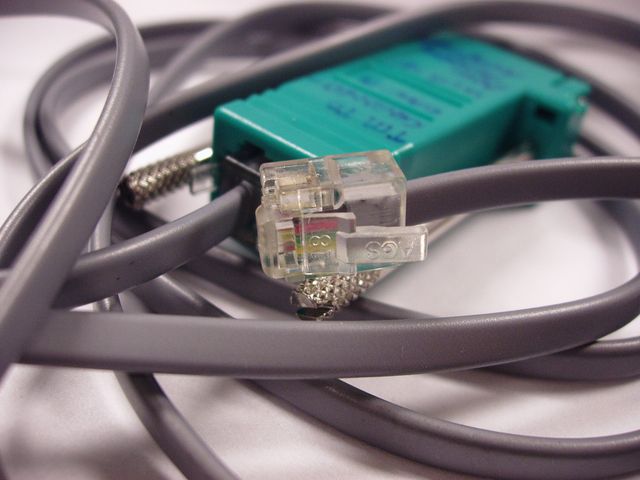
This adapter allows me to use a previously created FinishLynx to Chronomix display cable.
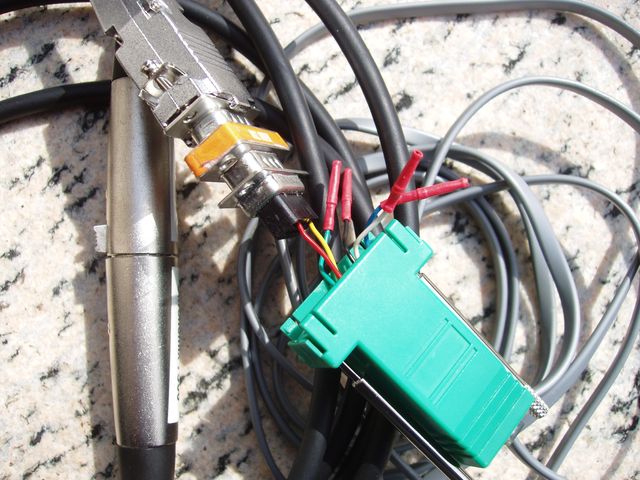
The green adapter has a DB9 (female) connector on one end and to RJ11 or RJ12 (female) connector on the other. Up to 6 wires may be plugged into the DB9 connector.

The remaining wires in the connector are unused and could be snipped off. I used shrink tubing instead and tucked them away for possible future use.
The green adapter is connected to a male-to-male null modem adapter
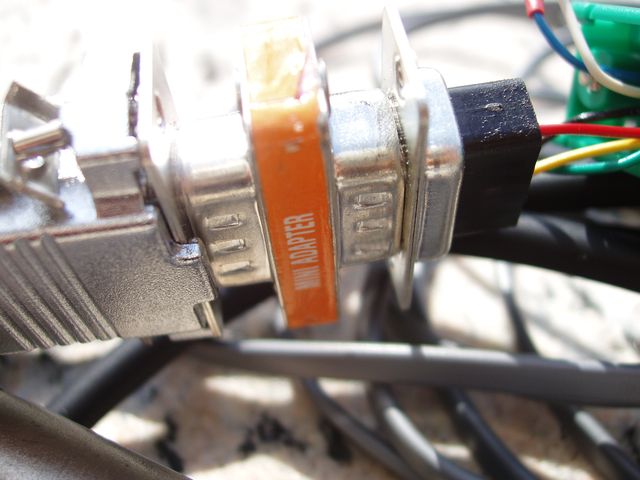

I had to make that cable adapter quickly with exsiting parts. If I had time to make another cable, I would have used an adapter that had a DB9 (male) connector. That would have avoided the, easy to misplace, null modem adapter.
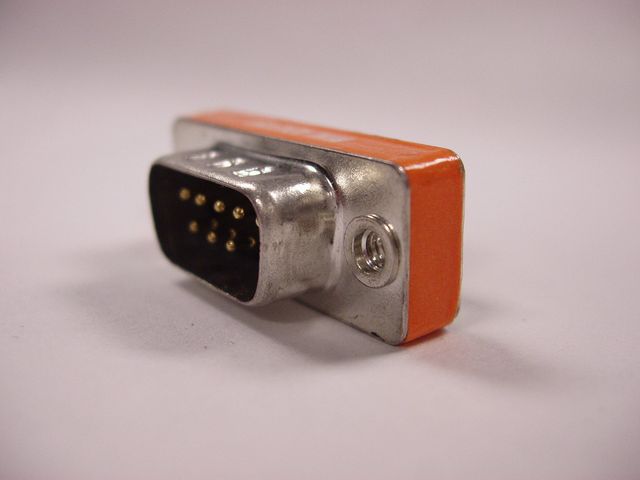
Nul modem adapter
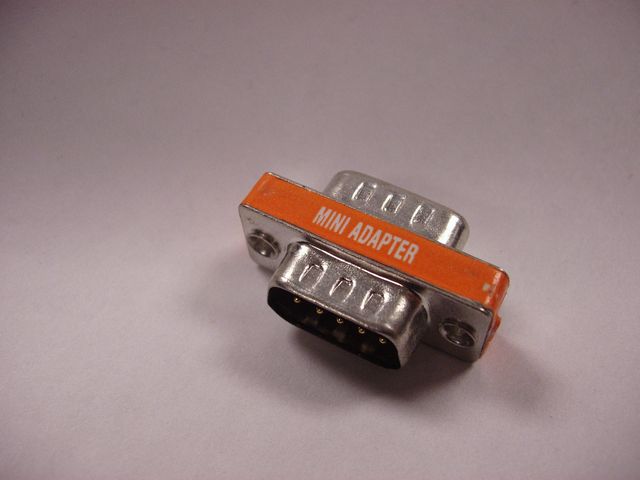

Nul modem adapter
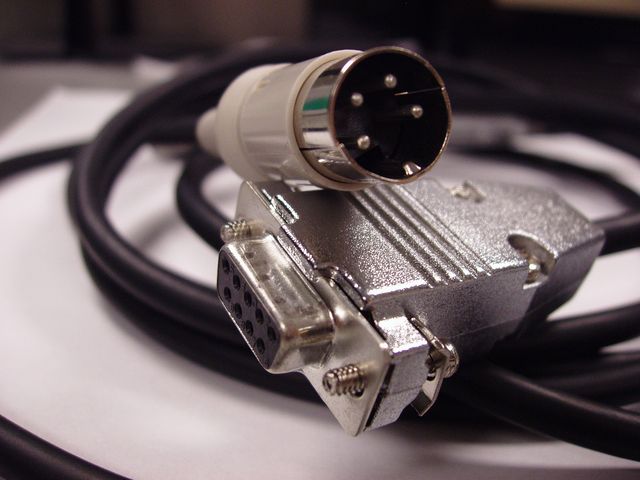
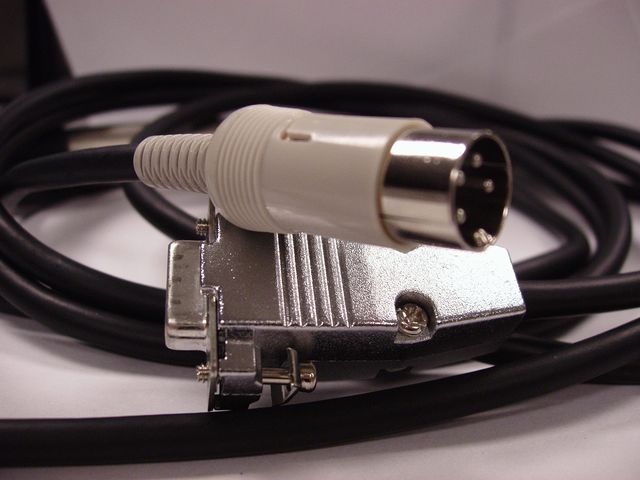
FinishLynx to Chronomix cable
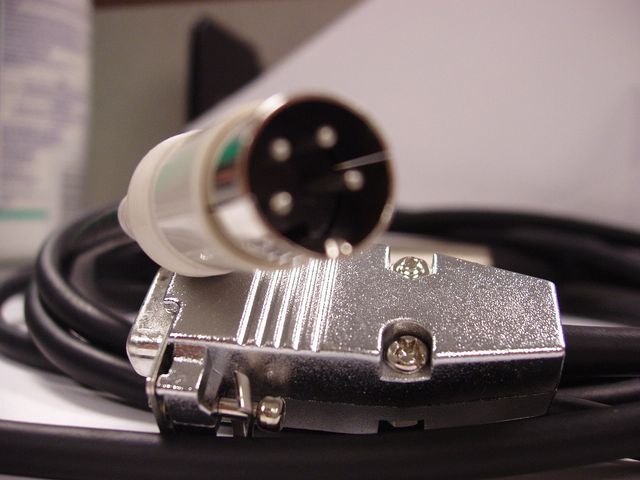
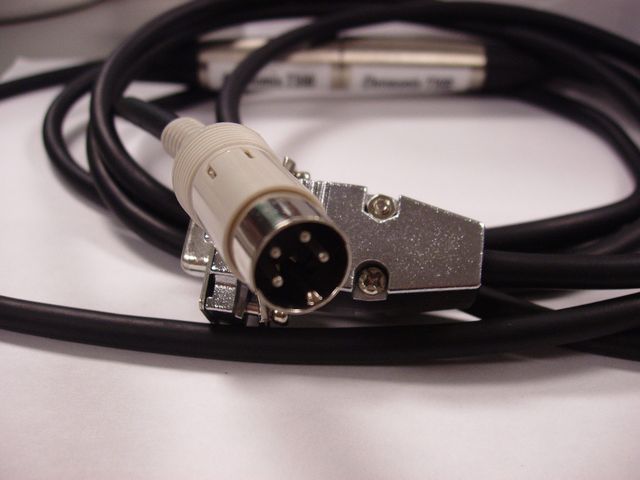
FinishLynx to Chronomix cable
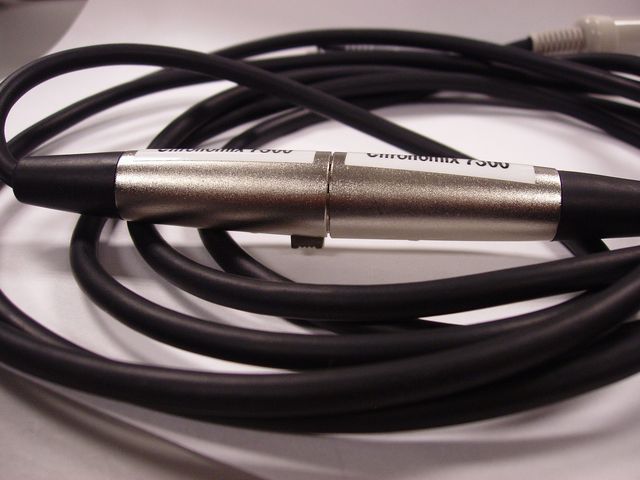

FinishLynx to Chronomix cable
# # #